Editing a style
- Do one of the following:
- Edit the cell (F5). Click
 next to
  .
.
- Choose . From the list, select the style you want to edit.
- Right-click the cell and select Edit style ''.
- Edit the cell (F5). Click
- Do the following to change the style settings of a cell: Tip: View the specified changes in the preview cell in the top-right of the Style settings dialog.
Field Explanation Example Name: As required, change the name of the style. Always use an obvious name. Color: You can specify the background color of the cell. From the drop-down list, select one of the following options: - Solid
- Gradient (horizontal)
- Gradient (vertical)
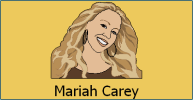
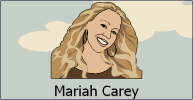
Transparent: A cell can be given a higher or lower degree of transparency. Drag the slider to the right to increase the transparency. Drag the slider to the left to decrease the transparency.
This can be useful if you are using a background picture on your communication grid.
Label: From the drop-down list, select the label position in the cell. 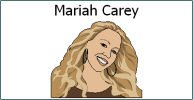
Font You can change the font, the font size and the color of the text of the label. For the text you can also specify italics, bold, underscore or strikeout. 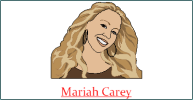
Adjust label size to fit cell The label is automatically shrunk if the text does not fit in the cell. The label is adjusted in both width and height. This option is selected by default. Image: You can determine the position and size of the picture in the cell. From the first drop-down list, select the position of the picture in the cell.
From the next drop-down list, select what percentage of the cell you want to cover with the picture. By selecting 100%, the entire cell will be covered by the picture.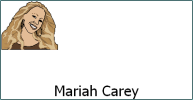
Border: You can adjust the width and color of the border around the picture. 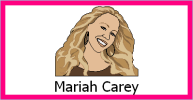
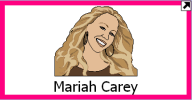
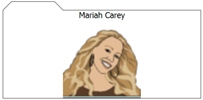
Page indicator: If a cell contains the Go to page action, you can choose how you want to display this. Select from the drop-down list: - None: do not display a page indicator.
- Arrow: an arrow is displayed in the top right corner.
- Folder: the cell is displayed as a folder.
Margin: You can add a margin to the cell so that the text and the image are located at a distance from the edge. 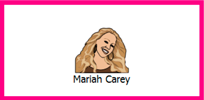
Shape: You can adjust the shape of the cell. From the drop-down list, select one of the following options: - Rectangle
- Rounded rectangle
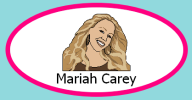
- Circle
- Folder
- Speech bubble
- Thought bubble
- Hexagon
- Octagon
- Star (12 points)
 Note: Beware of the following potential confusion when using the Folder shape: A cell with a Folder shape and a cell that refers to another page and is used as a page indicator Folder, are displayed identically.